Facebook Twitter Instagram YouTube
    Electronic Repair
    • Home
    • Tutorials
    • BIOS / EC
    • Schematic
    • Boardview
    Electronic Repair
    Home » How to solve default boot device missing or boot failed
    Tutorials

    How to solve default boot device missing or boot failed

    FixitBy Fixit11/12/2018Updated:01/13/2023No Comments3 Mins Read
    Facebook Twitter Pinterest LinkedIn Tumblr Email
    default-boot-device-missing-or-boot-failed-error-windows-8-10
    Share
    Facebook Twitter LinkedIn Pinterest Email

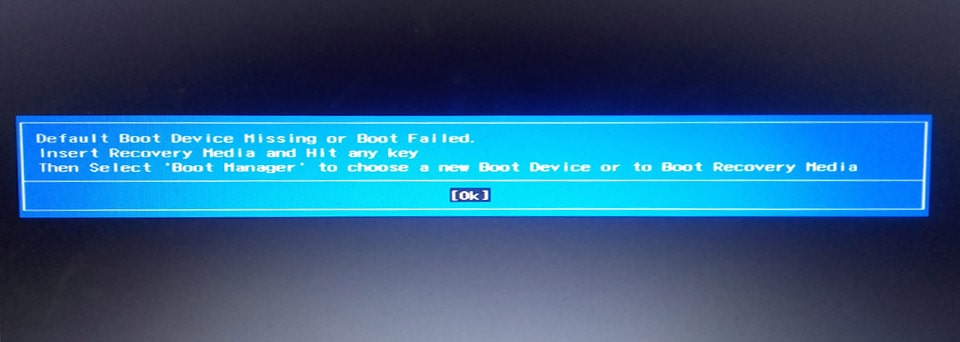
    If your computer suddenly stops recognizing a hard disk drive (HDD). Instead of entering the Windows interface, it turns into an error message that says:

    “Default Boot Device Missing or Boot Failed. Insert Recovery Media and Hit any key. Then select ‘Boot Manager’ to choose a new Boot Device or to Boot Recovery Media”

    Default Boot Device Missing or Boot Failed lenovo

    The first thing you think about is that the hard drive has some problem, and you are going to take the device apart and replace the hard drive with the other, and when you turn on the device to try it out, you will be amazed at the same error message that reappears. Soon your mind will believe that the problem is in the BIOS chip file, but when the BIOS chip flashes you will be surprised again that the problem has not been fixed.

    In this lesson we will explain with pictures and simple steps, how to fix this problem :” default boot device missing “, only from the BIOS settings. That is, you will not need to disassemble the computer and replace the hard disk..

    1- Enter the BIOS settings:

    You turn on the computer, and immediately when the logo appears, you press “F2” or “F10” or “Delete” to enter the BIOS settings

    bios screen boot menu bios Lenovo ideapad 110

    This page gives us a set of data, including device type and RAM, and we also note that it gives us information about hard drive type, and how it gave us hard drive information , we conclude that the hard drive is healthy.

    And what we just have to do is configure the boot settings.

    2- Reset the BIOS settings to the default settings.

    We will move to the Exit menu (we use the arrow buttons to move between the upper menus): In this menu we notice a set of options, choose the load default settings option, then press the enter button, after that a window will pop up to confirm the operation.

    Or press the F9 button, directly from the keyboard, to change the settings to the default settings.

    bios screen load default settings bios Lenovo ideapad 110

    3 – After that we go to the BOOT menu, always using the arrows on the keyboard

    This step is the most important step in this lesson. In this menu there is a set of boot settings.

    3-1: We choose the Boot Mode option, then we press the Enter button, and from the list we choose: Legacy Support instead of UEFI, and we press the Enter button.

    bios screen boot mode Uefi to legacy support lenovo

    3-2: Go to the next Fast Boot option, select Legacy First instead of UEFI First, and press Enter to confirm the option.

    bios screen boot priority uefi first to legacy first lenovo
    bios screen

    We leave the rest of the settings as they are.

    4 –Finally, save the settings from the EXIT menu, to fix the problem

    We go to the EXIT menu, and select Exit Saving Changes.

    After that we select Yes from the popup to confirm the operation.

    Or press the F10 button on the keyboard to save the settings.

    bios screen exit saving changes lenovo bios menu
    bios screen

    In this way, we have succeeded in solving this frequent problem in Lenovo devices in general, and especially in the Lenovo ideapad 110 device.

    boot bios default boot device missing Default Boot Device Missing or Boot Failed default boot device missing or boot failed insert recovery media and hit any key default boot device missing or boot failed lenovo Lenovo
    Share. Facebook Twitter Pinterest LinkedIn Tumblr Email

    Related Posts

    Efficient Motherboard Repairs with BoardView Software

    02/17/2023

    Streamlining PCB Repairs with Advanced PCB Repair Tools Software

    02/11/2023

    Computer Maintenance Tools: Essential Tools for Optimizing Your PC

    02/05/2023

    Leave A Reply Cancel Reply

    You must be logged in to post a comment.

    SOCIAL
    • Facebook
    • Twitter
    • Pinterest
    • YouTube
    RECENT POSTS

    Efficient Motherboard Repairs with BoardView Software

    02/17/2023

    Streamlining PCB Repairs with Advanced PCB Repair Tools Software

    02/11/2023

    Computer Maintenance Tools: Essential Tools for Optimizing Your PC

    02/05/2023

    A Comprehensive Guide to Buying a Used Laptop: What to Look for Before Making Your Purchase

    02/04/2023

    Download Asus x555ld rev 3.6 Boardview

    05/15/2021

    ASUS X541NA Bios + EC

    04/08/2021
    About
    About

    We offer a set of explanations and illustrated articles that focus on everything new in the world of maintenance, especially in the field of maintenance of electronic equipment.

    Facebook Twitter Instagram YouTube
    Recent Posts

    Efficient Motherboard Repairs with BoardView Software

    02/17/2023

    Streamlining PCB Repairs with Advanced PCB Repair Tools Software

    02/11/2023

    Computer Maintenance Tools: Essential Tools for Optimizing Your PC

    02/05/2023

    A Comprehensive Guide to Buying a Used Laptop: What to Look for Before Making Your Purchase

    02/04/2023
    TAGS
    BIOS / EC bios accent bios acer bios asus bios dell bios emachines bios fujitsu bios hp bios Macbook bios packard bell bios samsung bios sony bios toshiba Boardview Lenovo Thinkpad Other bios Schematic Tutorials
    • ABOUT
    • PRIVACY & POLICY
    • COOKIES POLICY
    • TERMS OF USE
    • CONTACT
    © 2023 www.ontikka.com.

    Type above and press Enter to search. Press Esc to cancel.